
Congratulations on configuring your product!
After you finish configuring your product and check out, we will send you an email with the information you need to put your product onto your ActBlue merchandise page. (It might take a business day or so for you to get the email.)
The key information from the email will be
- The recommended item name (including the REQUIRED code at the end of the item name)
- The recommended price
- The recommended product description
- The recommended variations, and
- The preview image (which will be attached to the email)
If you haven't already created a Merchandise Form for your merch, we'll walk you through it step by step below.
1. Creating a Merchandise Form
Start by navigating to your ActBlue Dashboard. Clicking on “Create form” will lead you to the “Choose a form type” page, where you can select which form you would like to make as well as customize it.
Click “Merchandise Form” and begin filling in the basic information about your form. 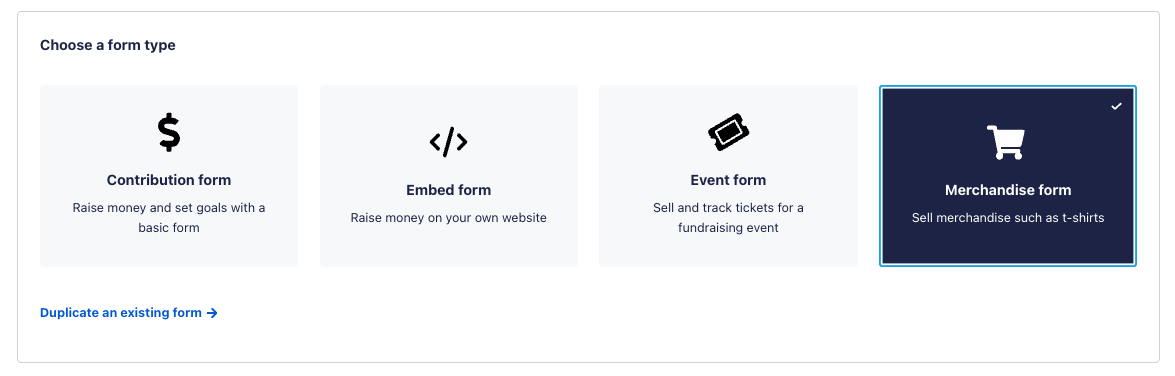
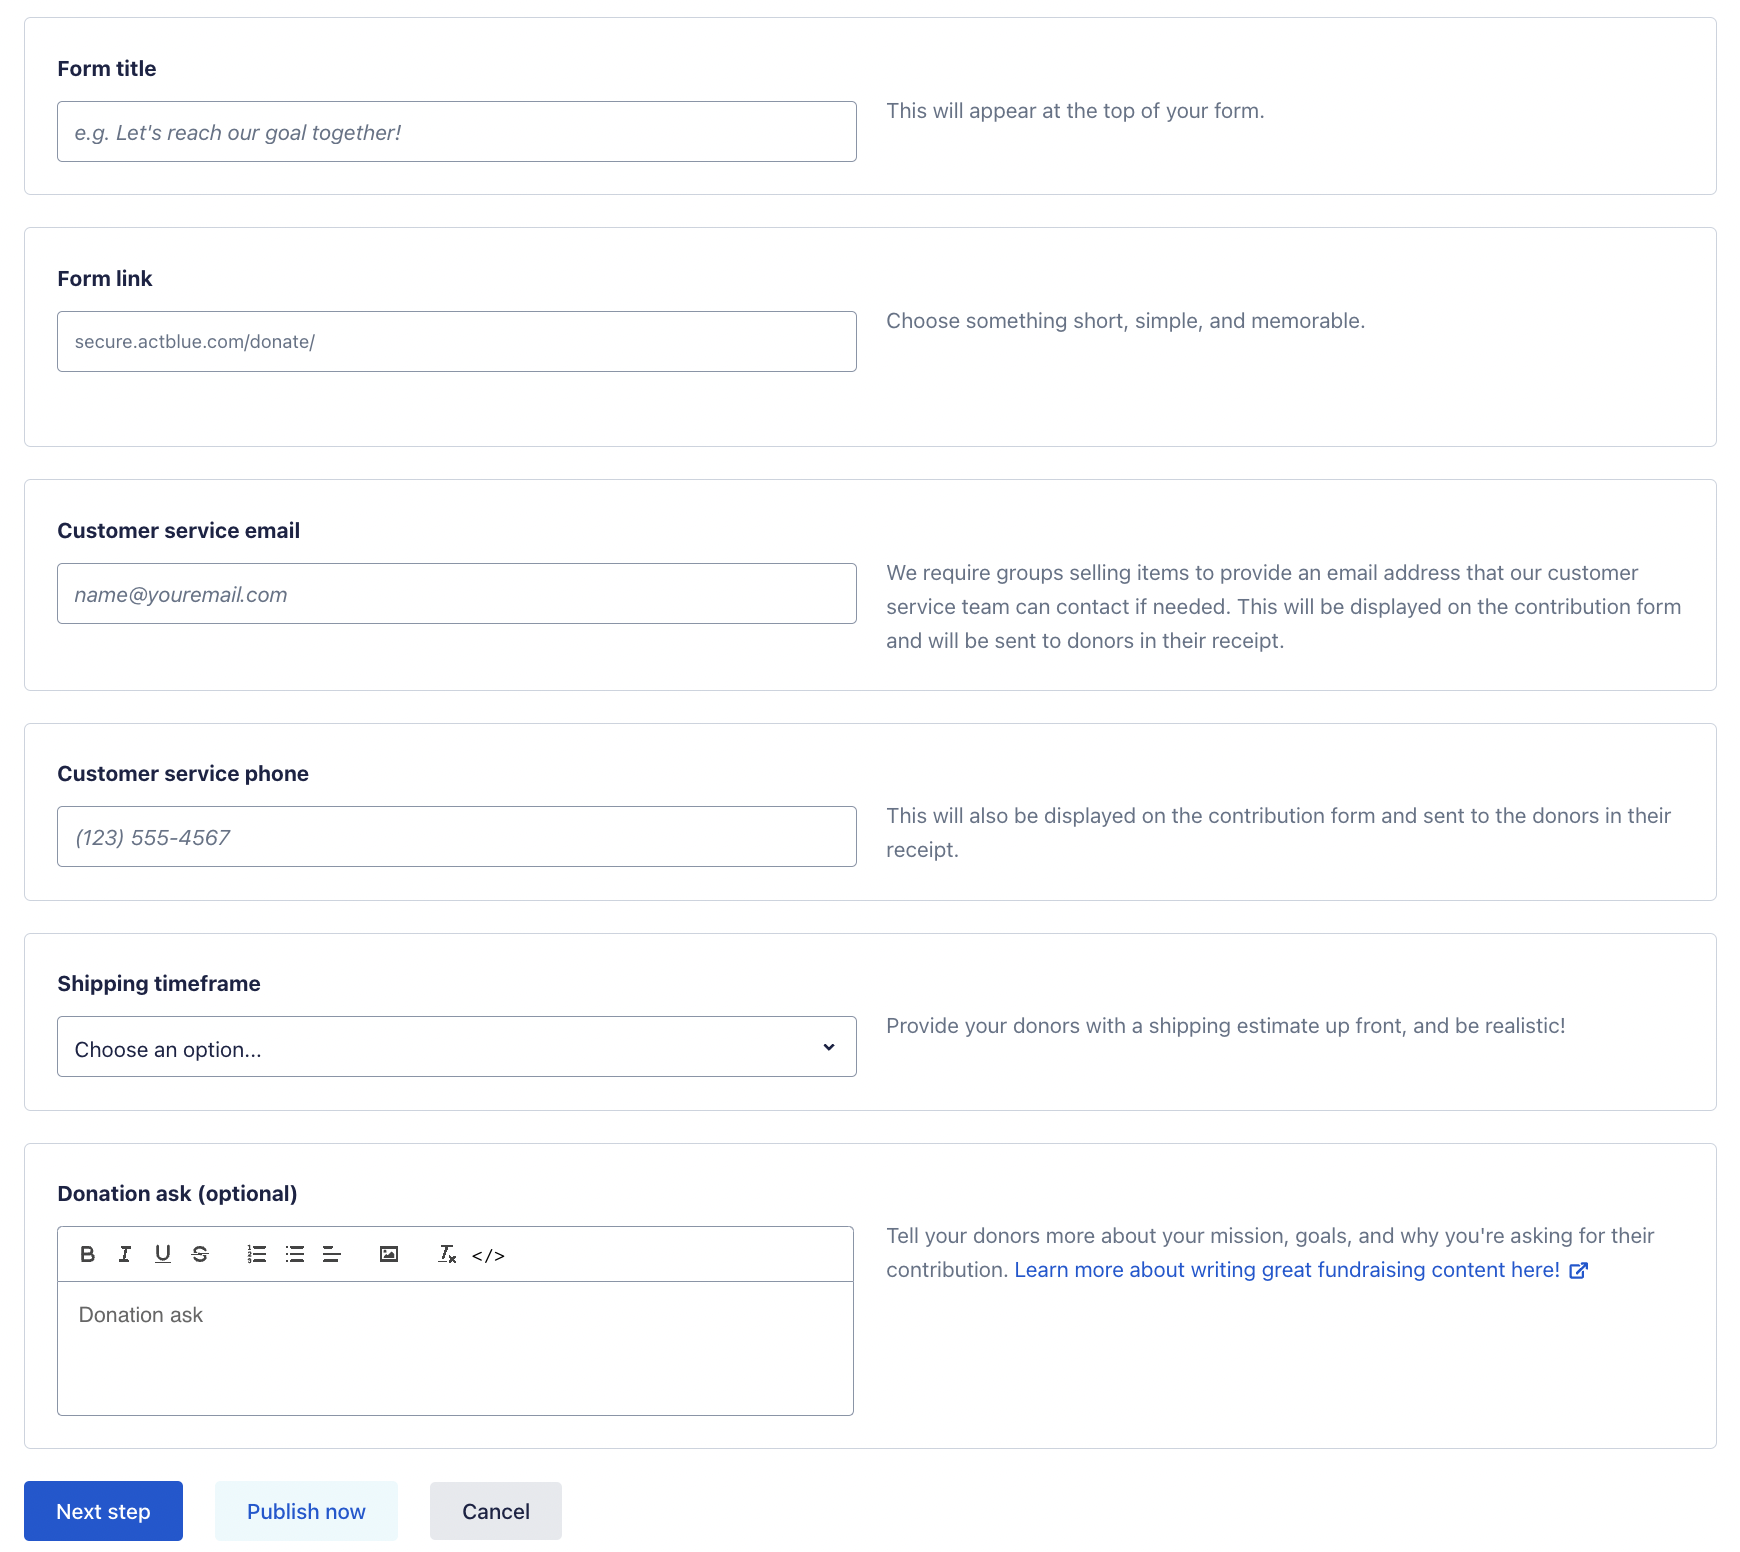
First, give your form a title. Then finish the web address for your form by typing a simple word in the “Form link” box. This word (or phrase) will be part of the unique web address for your form, as well as the name of your form in your Dashboard. Pick a short word or phrase and make a note of it so you can locate your form on your Contribution Forms page quickly.
Next, enter the email address and phone number your supporters should contact for customer service. For MerchBlue items, we are happy to provide customer support, so this should be:
Customer service email: care@merchblue.com
Customer service phone: 1-800-789-4364
These will be displayed on the merchandise form and in your supporters’ receipts so they can get in touch with us about any merchandise fulfillment issues.
Finally, you’ll need to go to the “Shipping timeframe” section and estimate when donors can expect their items to arrive. Please choose "3-7 days."

You can always go to the form’s “Title, ask, and URL” and “Contact and shipping” tabs to make any edits to this basic information later.
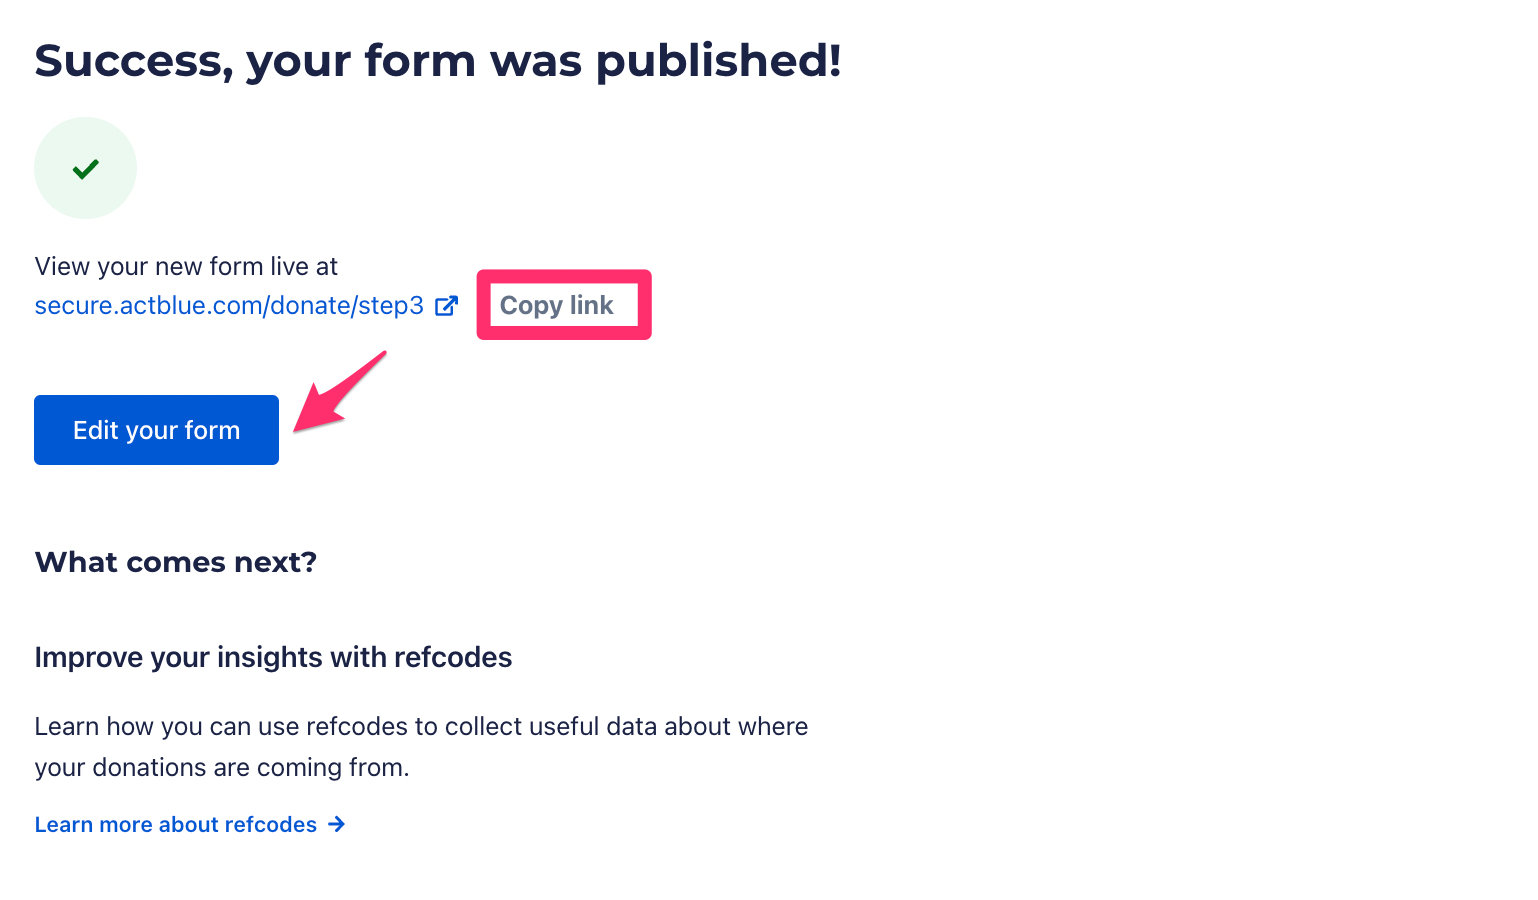
Once you publish your form, this will bring you to the “Success, your form was published!” page. There, you can copy the link to your form, as well as navigate to the form editor. Click “Edit your form” to go to your merchandise form. The form editor will be open on the left.
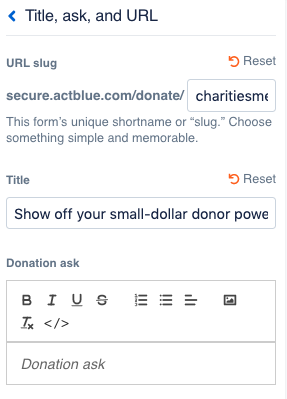
 In the “Title, ask, and URL” tab, you can edit your form’s title and add a description or message in the “Donation ask” section.
2. Adding Items To Your Merchandise Form
Next, go to the “Items” tab to add your merchandise. The first step is to click the “Add item” button and add merchandise in the pop-up. Here you can add an item’s name, description, price, and image so that donors clearly know what they’re buying.
 You can create a variation by clicking on the “Add variation” button. Name the variation of your item, and add all of its options (i.e. The variation name would be Size and the options would be Small, Medium, Large, and Extra Large). More information on variations is available if you click the blue, circular “Information” button.
 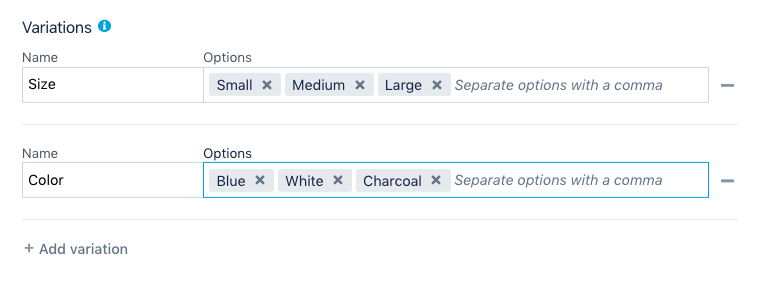 Once you’re done entering all information about your item in the pop-up, click the “Done” button. You’ll see the preview of your form with the item added. In the “Items” tab, you can drag and drop items to change the order they appear in on the merchandise form and choose to hide specific items from the live form so that supporters can’t buy them.
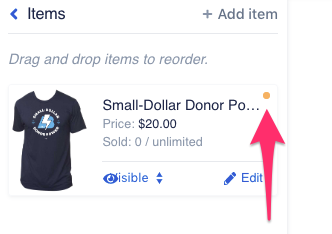
When looking at the “Items” tab, watch out for an orange dot in the upper right-hand corner of an item’s entry. An orange dot tells you that you’ve made changes within that entry that you have yet to publish.
3. Customizing Your Merchandise Form
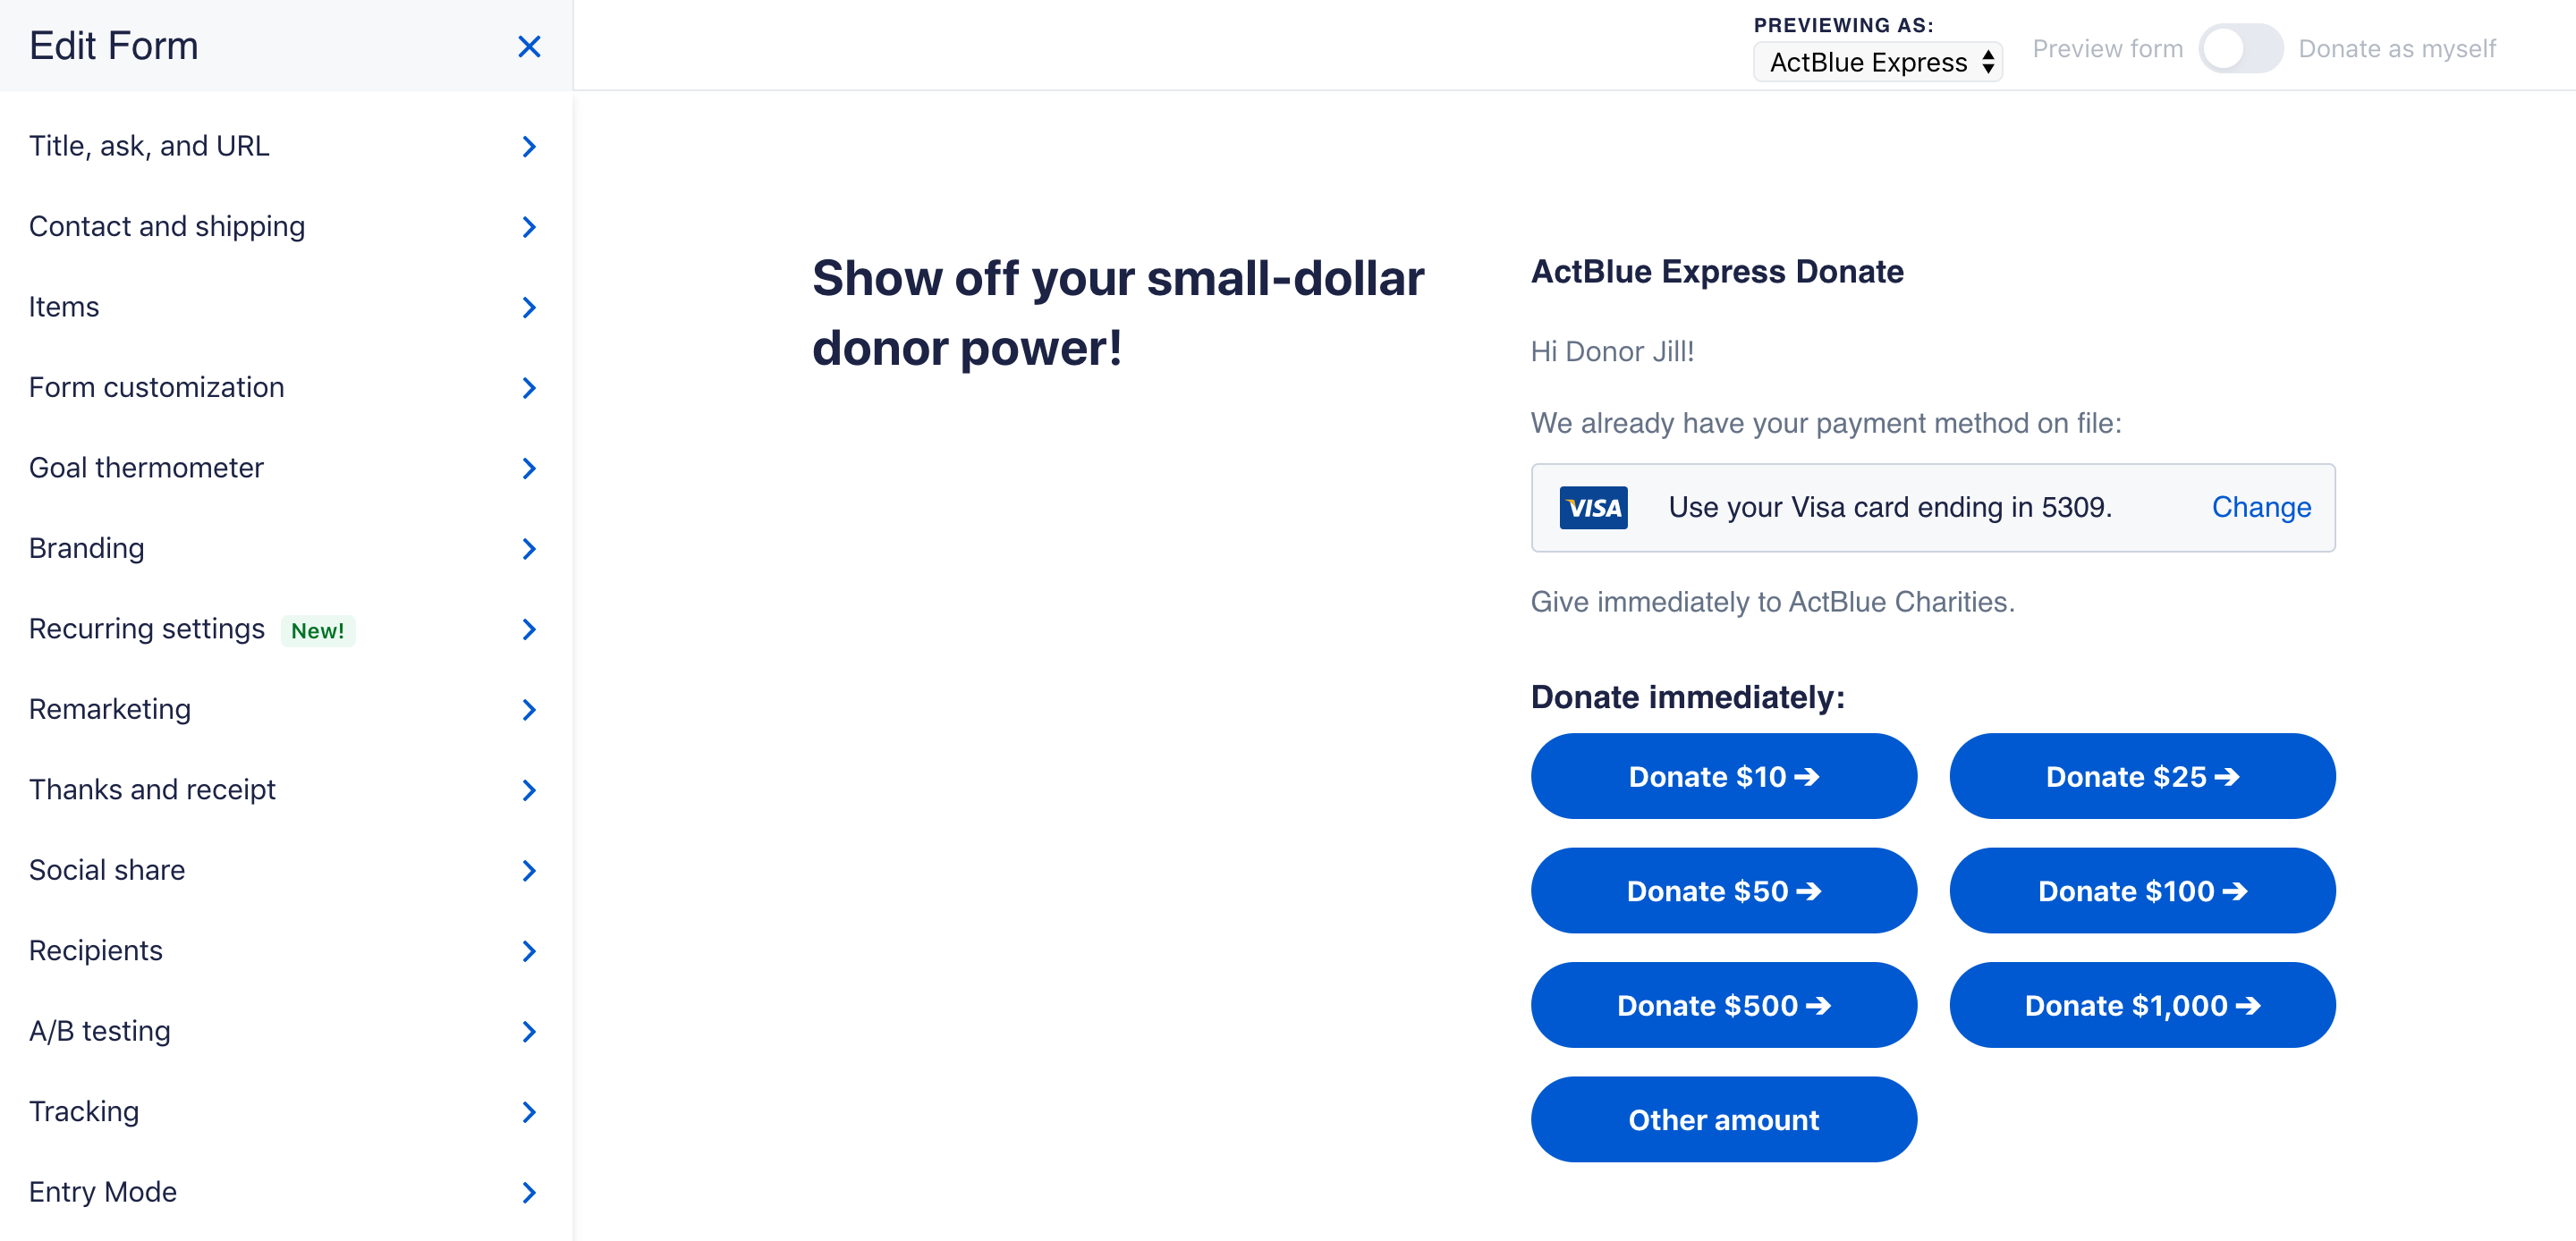
Once you’ve published all changes, your merchandise page will be all set. Here’s an example of what a basic merchandise form with no branding might look like:
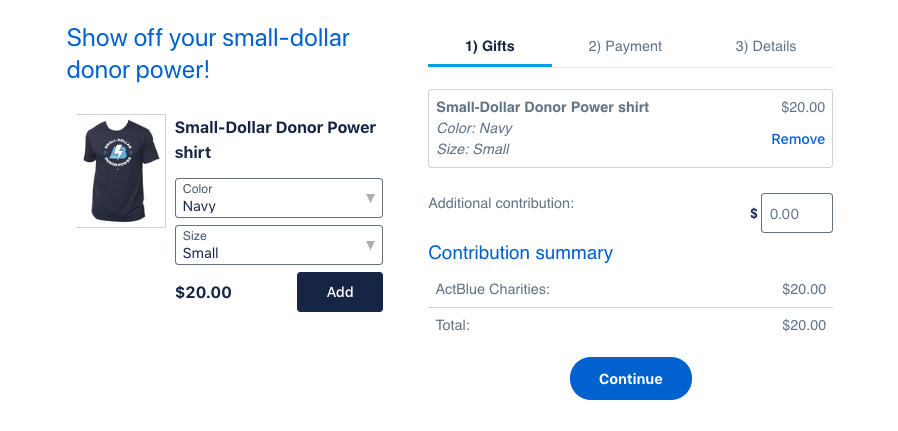 Donors also have the option of making a donation in addition to the cost of the merchandise when they visit your merchandise form.